|
Well hello there
dear crafter Fae! Come see what we have!
Home
~
About
~ Members ~ Seeds
Of Time
Home
Crafter
links ~
Projects
A
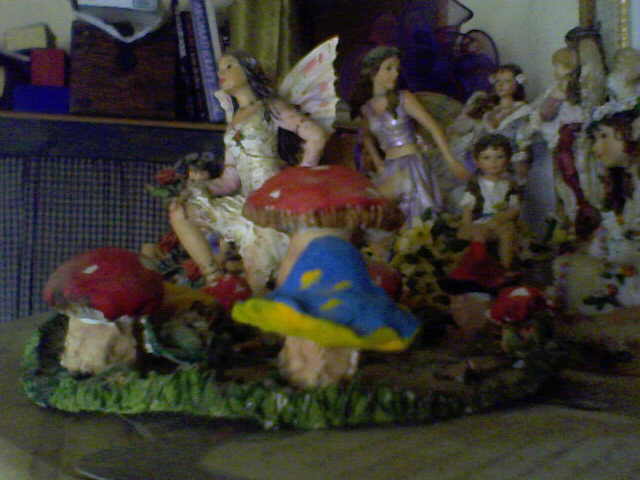
Fairy Ring fairy princess project share
Imagine a beautiful evening when the sun is just setting, the sky is
blue, mauve , indigo and orange, the air is warm with a wonderful
smell of flowers on the air, there is a tiny sound of bells and the
fairies are gathering in a ring ..................
well now you can make your own here is mine -
needed a block of air drying clay (white is best)
patience LOL it takes a while to dry.
Take your clay and break of a piece , about enough to make a plate
size circle, roll out on a cold board , i used a plate to cut out
the shape. Use a fork to make grass impressions /
Lift off and place on a wire cooling wrack.
Now the fun starts, making your mushrooms and toad stools, take
small pieces for the stalks and just roll between fingers , not too
tall or the mushroom cups will pull them over.
When you have enough leave on the wire wrack , why not make a few
logs and flowers too just let your imagination flow.
then go and make you r tops, i made some cupped , some pointy , take
a small ball of clay and form your shape remember to hollow out
under so it will sit on a stalk.
Again leave to dry.
Now this will take some time depending on how thick you have made
the clay, turn and check every few days .
When dry carefully remove from the wire rack and paint up the base
first , then the stems of the mushrooms , using water place onto
base and firmly push down, if worried you can use a glue gun.
Now go crazy with those mushrooms all colours are wonderful. Set on
top of your stems water usually works or glue gun.
Varnish when dry and display with you fairies around it.
Dear princess has shared her
Fae dress so beautiful
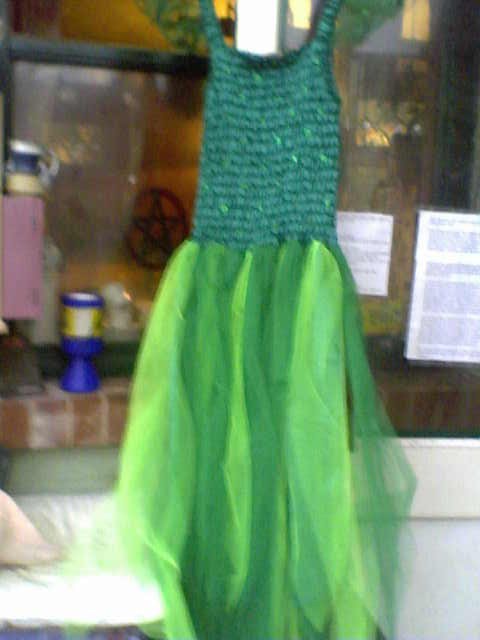
A fairy dress of your own.
materials. some nice lining fabric satin look type, just about one
metre.
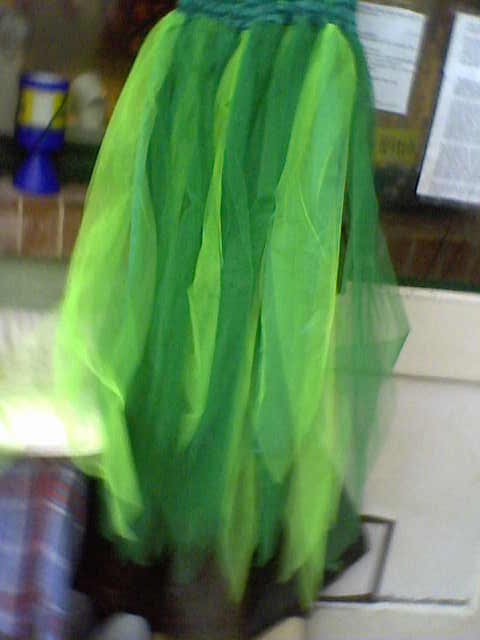
some netting in the same shade, i used 4 colours going from pale to
darker.
about 2 metres of each.
some elastic about one half inch wide.
some thin thread elastic (for those who want to use the machine to
ruch the back and front)
this is not essential as it is only a fun costume .
some nice sparkles to sew on or glue on.
matching coloured cotton for sewing up.
3 or 4 buttons, or velcro for fastening.
this is so simple , i am not a great dress maker but managed this
fine.
1. measure yourself around bust and waist. also your length from
armpit to waist.
2. get some newspaper and fold in half, now draw a boob tube shape
to half bust width at the top and half waist width at lower end ,
the lenght of your body from armpit to waist.leaving a seam
allowance of one half an inch all round.
unfold , now you have a long piece of paper in front of you, pin to
the shiny lining material. and cut out. this when wrapped around
your upper body should fit leaving an inch to use as sewing seam
3. pin around the whole piece one half inch from the edge and sew up
the opening at the back, leaving an opening for a few buttons or
velcro to fasten. now turn in all the rough edges and sew to neaten.
4. Get your mesh - turn down at the top and sew a running stitch
along do this with as many peices of mesh you have. Take the wider
elastic and thread through the waist of the mesh putting all the
pieces on it.
5. tie to fit your waist.no need to sew up the mesh unless you are
wearing it out then i recommend you sew each peice to the next and
of course the back too LOL
you can shape the lower mesh by cutting "V"shapes ,
6. Either sew the top to the lower skirt or leave as separates,
either way use some of the satin material to make shoulder straps.
sew on.
that is all there is to it.
7. If you are a machinist follow your manual for ruching
instructions you may need more satin material.
8. sew on or glue on some sparkels or shiny sequins.
(wings can be made by using metal coat hangers and covered in
netting with sparkles and decorations.)
Art by Lisa
Copyright 2009, Seeds Of Time ~ The Fairies' Journey
Original Staff and Owners - Lisa, Rosie, And Eva
Nothing may be removed without the express permission of the
the owners
 |
